'%3e%3cpath%20id='color_2'%20d='M97.31365,76.08731c-.2546,0-.49232.06189-.74411.07455A10.89583,10.89583,0,0,0,77.563,65.87368a14.75647,14.75647,0,0,0-28.90226,4.241c0,.27289.06611.52608.08018.79475a17.59794,17.59794,0,0,0,3.37031,34.74264v.02953H97.31365a14.79716,14.79716,0,0,0,0-29.59432Z'%20fill='%2322adff'%3e%3c/path%3e%3cpath%20id='color_1'%20d='M99.03046,74.28962a12.17106,12.17106,0,0,0,.1688-2.0115A12.78306,12.78306,0,0,0,78.208,62.4457,16.503,16.503,0,0,0,63.4565,53.43194,16.702,16.702,0,0,0,46.78639,69.48735a19.60364,19.60364,0,0,0-11.429,27.56454c.28555.5514.595,1.08874.92979,1.60638a19.35828,19.35828,0,0,0,7.51287,6.75329c.43747.22366.88337.42762,1.34053.61751.44309.18427.89041.3587,1.349.51062a19.69062,19.69062,0,0,0,5.2102.98324,1.88485,1.88485,0,0,0,.41074.045H97.31436a16.68352,16.68352,0,0,0,1.7161-33.27832Zm-1.7161,29.50571h-44.869a1.92822,1.92822,0,0,0-.27289-.02813,15.80308,15.80308,0,0,1-4.71084-.94527c3.02569-9.198,10.19393-13.6191,27.957-12.71182L74.064,94.6184a1.44059,1.44059,0,0,0,2.27032,1.5459l11.66387-9.16568a1.44209,1.44209,0,0,0,0-2.2661L76.3343,75.56685a1.44085,1.44085,0,0,0-2.27032,1.5473l1.21393,4.03847a109.815,109.815,0,0,0-15.594-1.6092c-11.896,0-18.56345,4.76711-22.51189,10.70455a15.23023,15.23023,0,0,1,11.99021-17.5A1.88782,1.88782,0,0,0,50.62512,70.811c-.00985-.17442-.031-.34462-.07877-.69628a12.87036,12.87036,0,0,1,25.20982-3.69806,1.88586,1.88586,0,0,0,3.33093.56687,8.95282,8.95282,0,0,1,7.29484-3.7487,8.97427,8.97427,0,0,1,8.42578,12.25326,1.88518,1.88518,0,0,0,1.85677,2.55727c.1688-.00844.332-.02813.6569-.07174a12.91086,12.91086,0,0,1-.007,25.82172Z'%20fill='%23170062'%3e%3c/path%3e%3c/g%3e%3c/svg%3e)
Quick Start Guide
1
Add Javascript
Simple File Upload should be quick and easy to get up and running.
If you have any trouble, drop us a line at support@simplefileupload.com — we have the best customer support around.
Install the JavaScript library:
<script type="module" src="https://cdn.simplefileupload.com/simple-file-upload.latest.js"></script>Add the web component to your page:
<simple-file-upload
  public-key="YourPublicKey"
></simple-file-upload>
2
Customize
Configure the uploader with your preferred settings
Customize the uploader behavior with these attributes:
multiple="true|false"- Show the multi-file uploader (default) or the single-file uploadermax-files="number"- Set maximum number of filesmax-file-size="number"- Set maximum file size in bytes
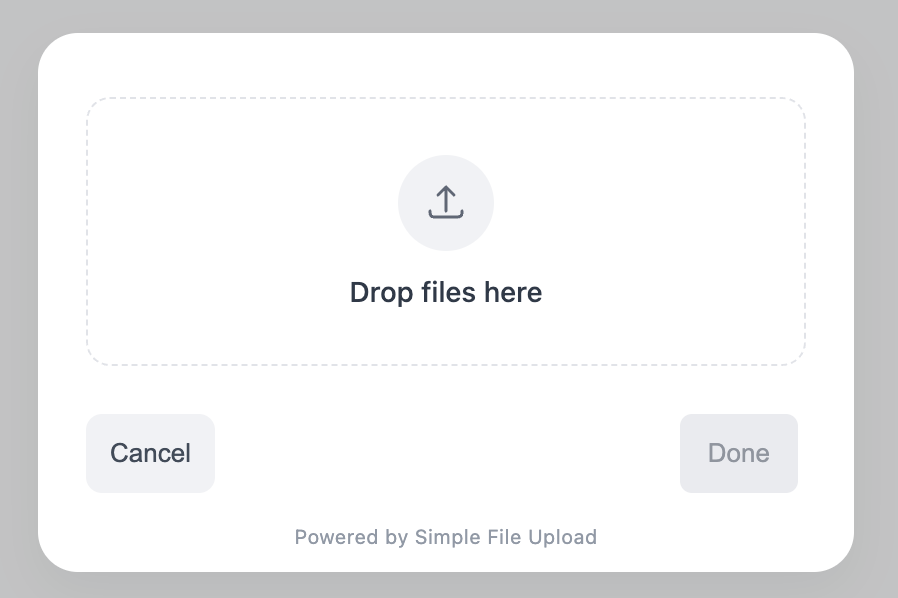
Single File Upload
Perfect for profile pictures or single document uploads

Multi-File Upload
Great for batch uploads and galleries
3
Handle Events
Listen for upload events and handle file data
Add event listeners to handle file uploads:
<script>
  // Listen for change events on the uploader
  document.addEventListener('DOMContentLoaded', function() {
    const uploader = document.querySelector('simple-file-upload');
    uploader.addEventListener('change', function(e) {
      console.log('Upload details:', e.detail);
      // Handle the uploaded files
      const files = e.detail.allFiles;
      // Your code here
    });
  });
</script>
4
Serve Files
Resize your images on demand
How do I resize on demand?
Easy! Simply add query parameters for width(w) and height(h). Add ?w=20&h=20 to the end of your image URL to resize to 20 by 20.
Example
// Original URL
const { cdnUrl } = event.detail.allFiles[0];  // From the upload event handler

// Resized to 200x200
const resized = cdnUrl + '?w=200&h=200';

// Using in an img tag
<img src={cdnUrl + '?w=300&h=300'} alt="Resized image" />
# Original URL
cdn_url = @upload.cdn_url # Saved in your database
# Resized to 200x200
resized_url = "#{cdn_url}?w=200&h=200"
# In ERB template
<%= image_tag "#{cdn_url}?w=300&h=300", alt: 'Resized image' %>// Original URL
$cdnUrl = $upload->cdn_url; // Saved in your database
// Resized to 200x200
$resized = $cdnUrl . '?w=200&h=200';
// In HTML
echo '<img src="' . $cdnUrl . '?w=300&h=300" alt="Resized image">';# Download original image
CDN_URL="https://your-saved-cdn-url.jpg" # Replace with your saved URL
# Download original image
curl $CDN_URL > original.jpg
# Download resized image (200x200)
curl "$CDN_URL?w=200&h=200" > resized.jpg
# Using wget
wget "$CDN_URL?w=300&h=300" -O resized.jpg